
Following are instructions to help you maximize your penis enlargement gains, with your LG Hanger. Please refer to the material provided with your LG Hanger, for further instructions. Additionally, should you have any questions, please contact us at support@mypenisdoctor.com or contact Dr. Howard directly at drrichardhoward@aol.com.
ORDER NOW!

Foreskin Preparation Method of Hanging
Below is a series of illustrations by Subject A demonstrating the application of the LG Hanger. Glans protection is encouraged, because at higher weights we have higher vacuum within the LG Hanger.
There are two effective methods we have devised to protect the glans from any potential fluid buildup leading to blistering. Those with foreskin can use the foreskin method of protection by simply:
- Pulling the foreskin over the glans,
- Taping it securely, and
- Placing a cut down condom over the tape to reliably secure the foreskin and protect the glans.
In the photos below the subject demonstrates the use of the foreskin protection method, the application of the LG hanger, and hanging with the LG hanger.
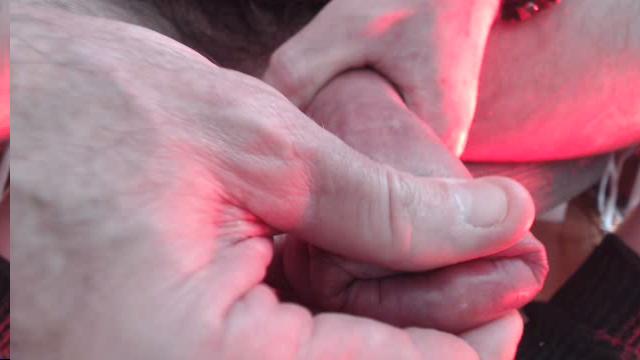
Figure 1. Pull foreskin over glans.
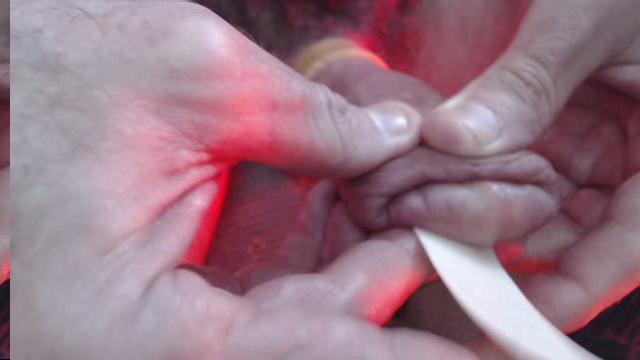
Figure 2. Attach tape to the bottom of the foreskin.
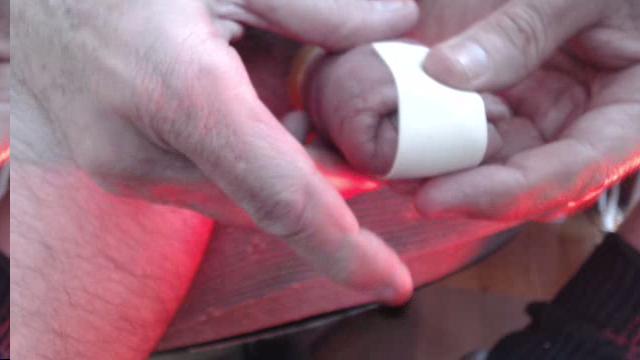
Figure 3. Position tape from the bottom around the foreskin and secure on top.
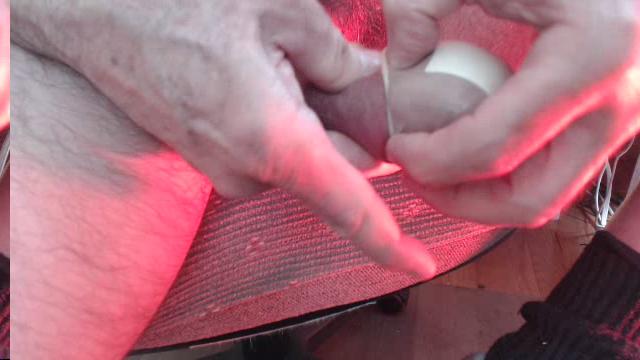
Figure 4. Apply cut down condom to further secure the foreskin. Please note that a pinhole placed in the condom is suggested to prevent the condom from ballooning due to the vacuum.

Figure 5. Secured tape and condom in position over the glans.
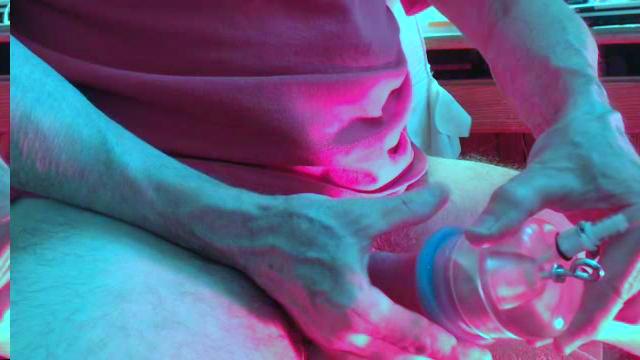
Figure 6. Apply the LG Hanger while applying the vacuum, roll down the silicone sleeve to seal the unit.
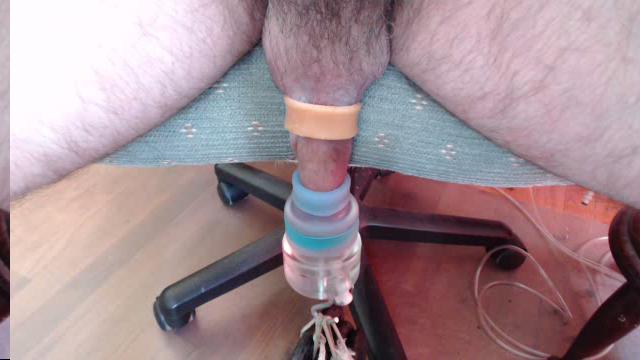
Figure 7. Apply the weights and allow the hanger through traction to stretch the penis. Please note, there a number of different positions such as: straight down, BTC, over the legs left or right, fulcrum, or anything else you can imagine some of which are illustrated below.
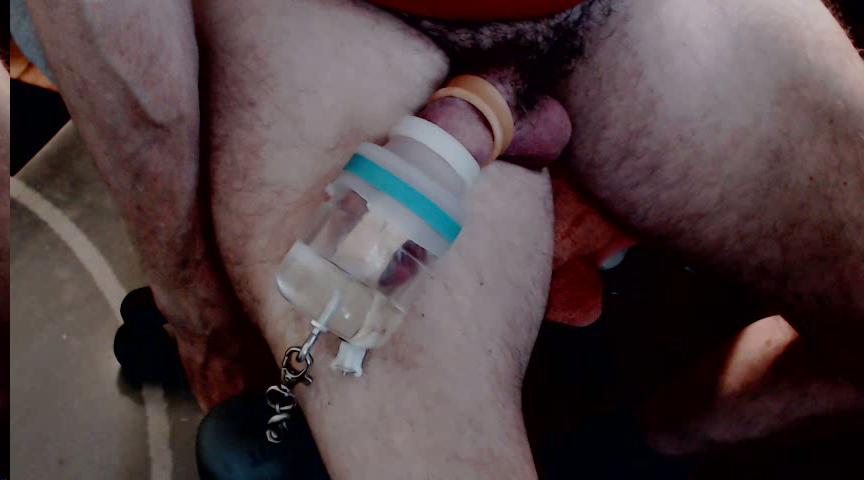
Figure 8. Seated over the leg position.

Figure 9. Fulcrum position
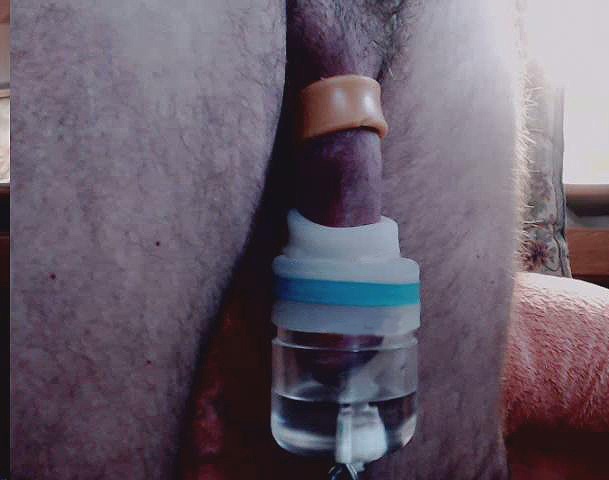
Figure 10. Standing Position, not proximity of glans to just above knees.
Glans Taping Preparation Method of Hanging
Direct taping of the glans protection method, applying the LG Hanger and hanging is illustrated below.
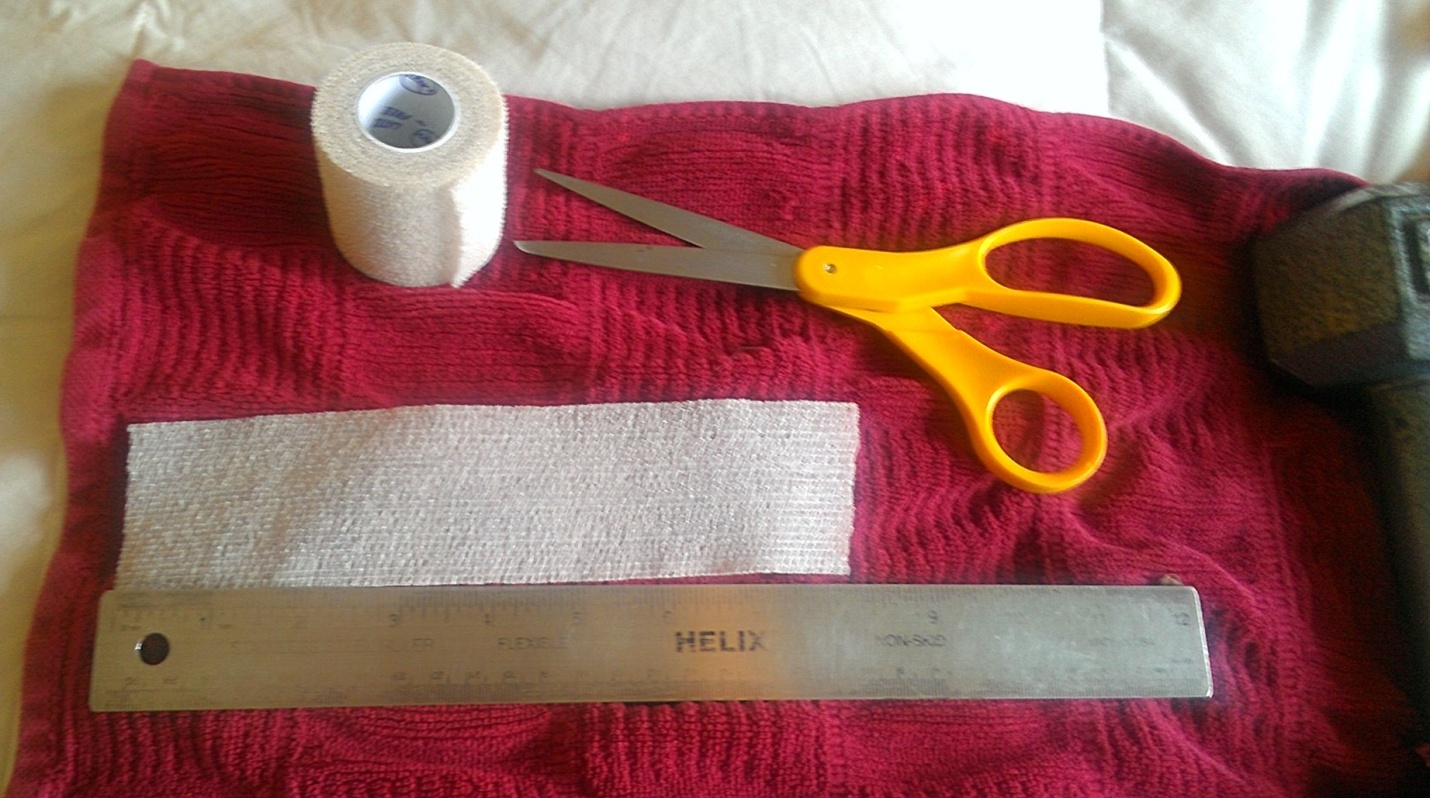
Figure 11. A piece of Tender Tape about 7"- 8" long, depending on girth size, should be sufficient.

Figure 12. A "girth band" about 1" - 1 1/2" wide will help keep you firmer as you apply Tender Tape.
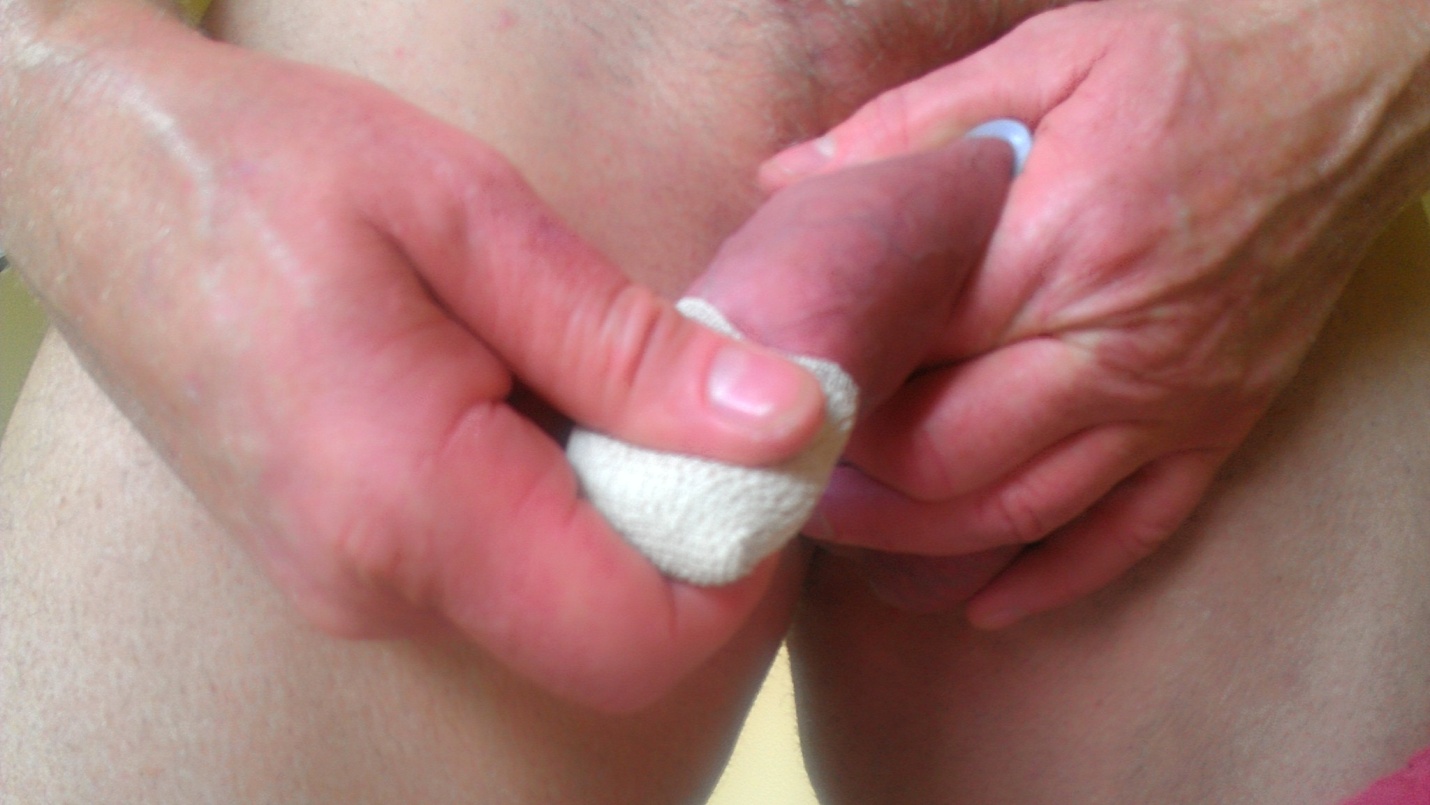
Figure 13. Pinch/mold Tender Tape securely to glans.
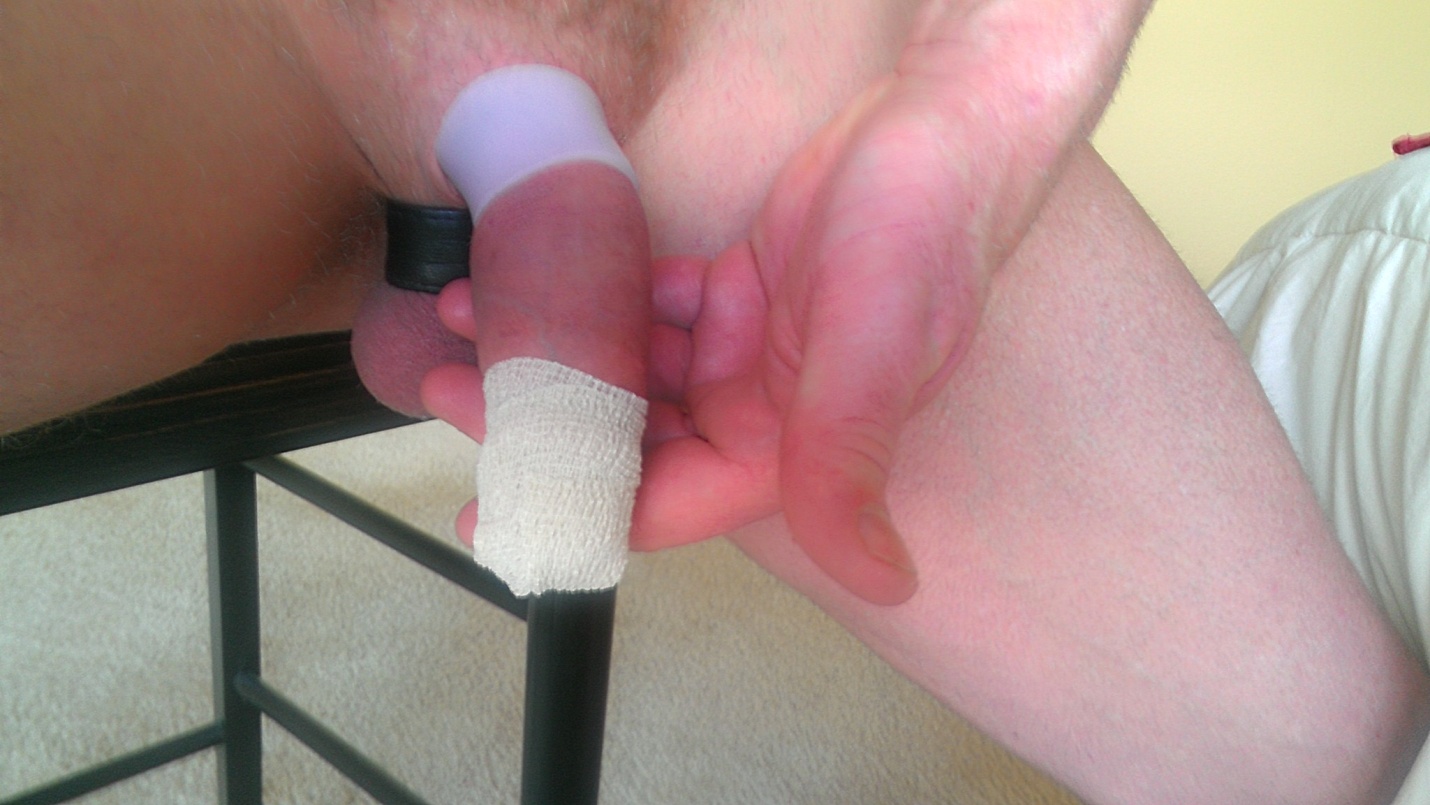
Figure 14. Tender Tape secured to glans.

Figure 15. Hanger install
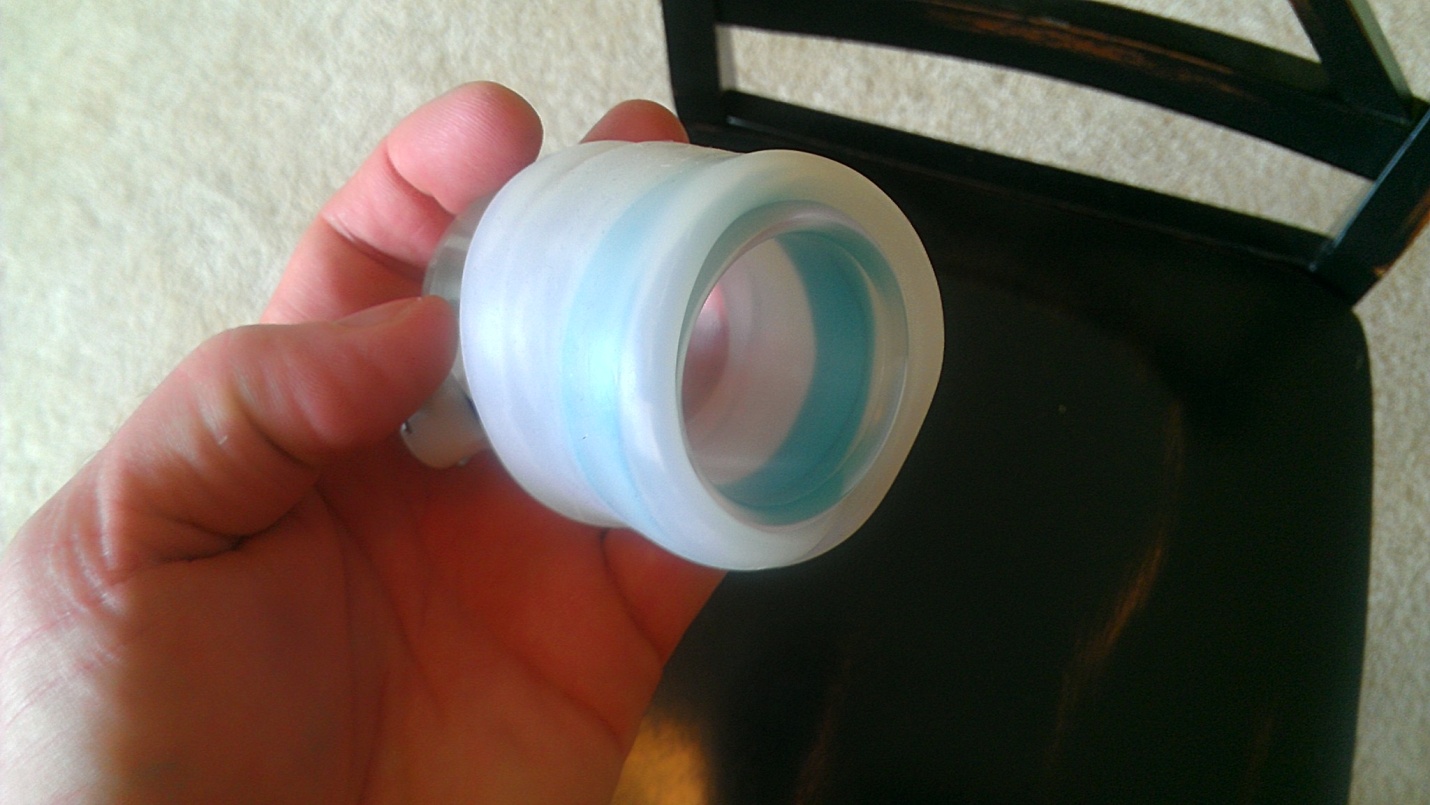
Figure 16. Roll back rubber over the outer diameter of the LG Hanger mouth.

Figure 17. Insert penis to bottom of LG Hanger.
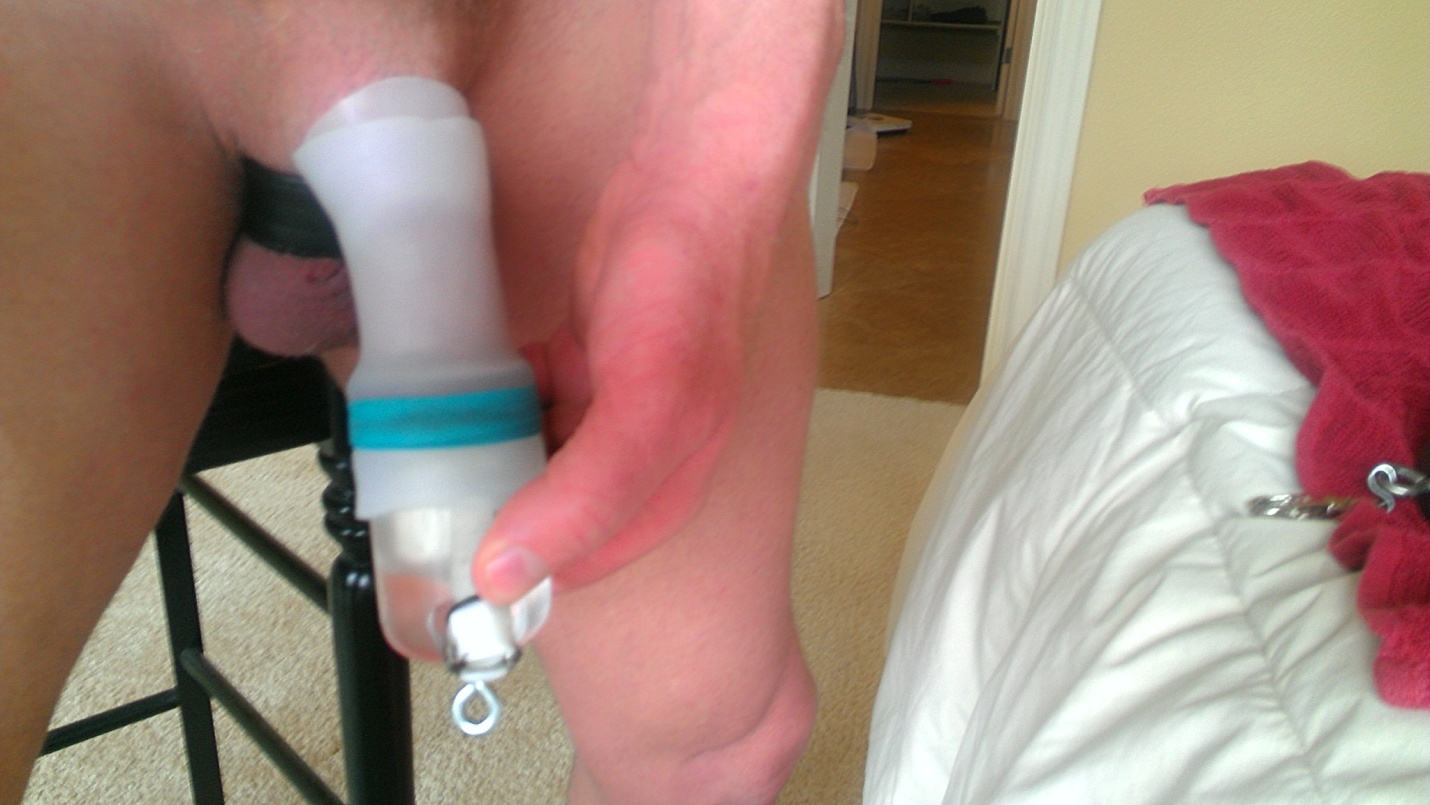
Figure 18. Pull rubber back as far as you can.
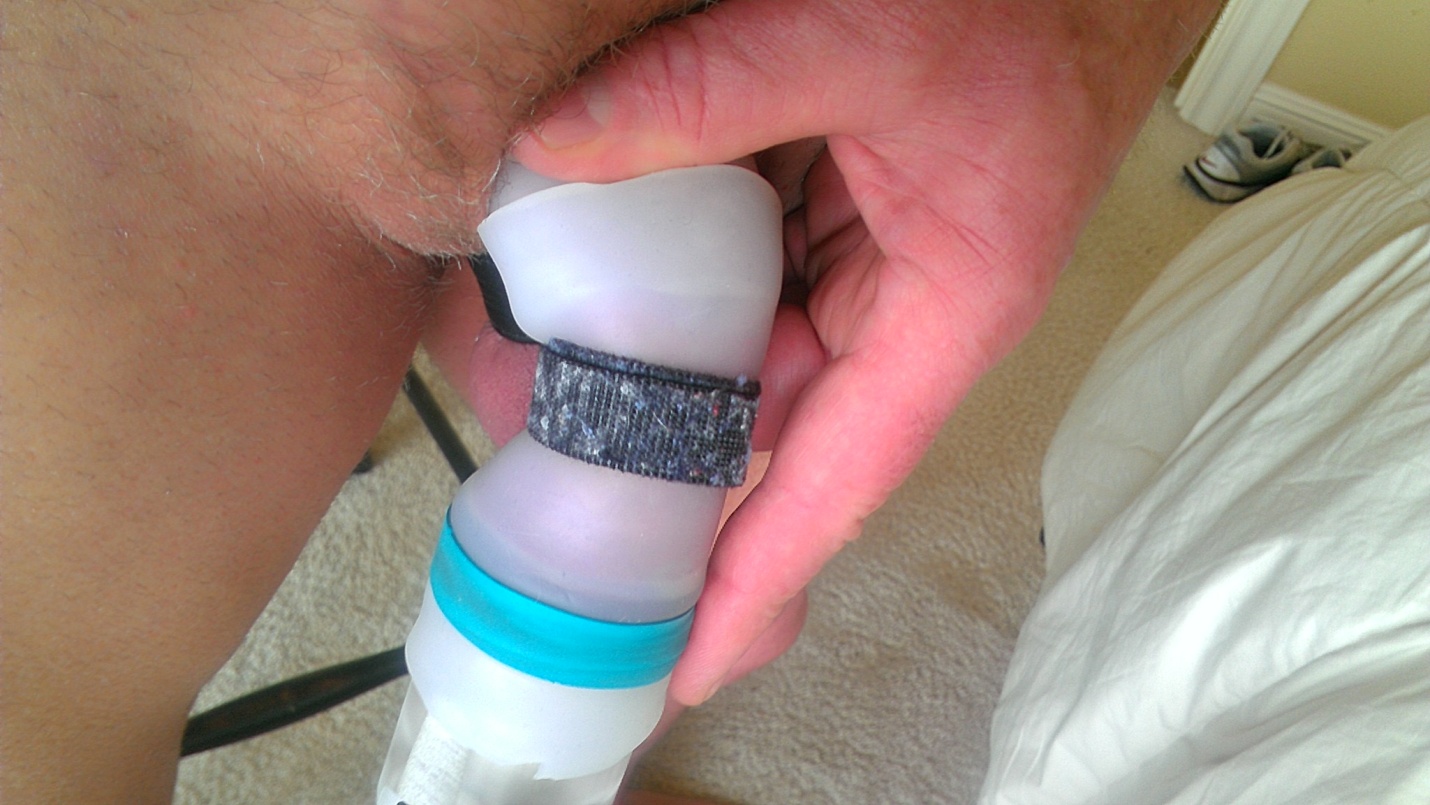
Figure 19. Velcro Strap for a secure vacuum seal. (optional)
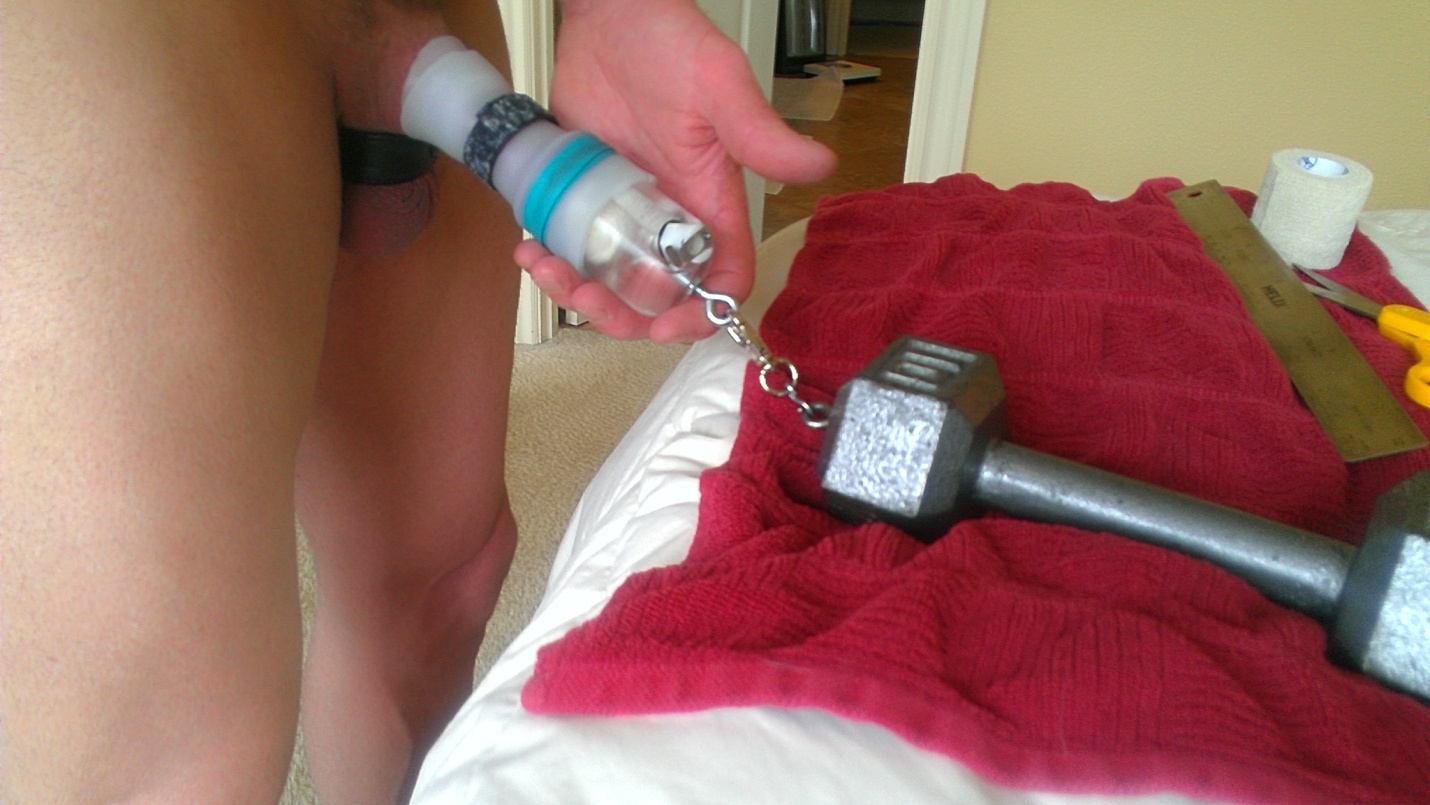
Figure 20. Attach weight.
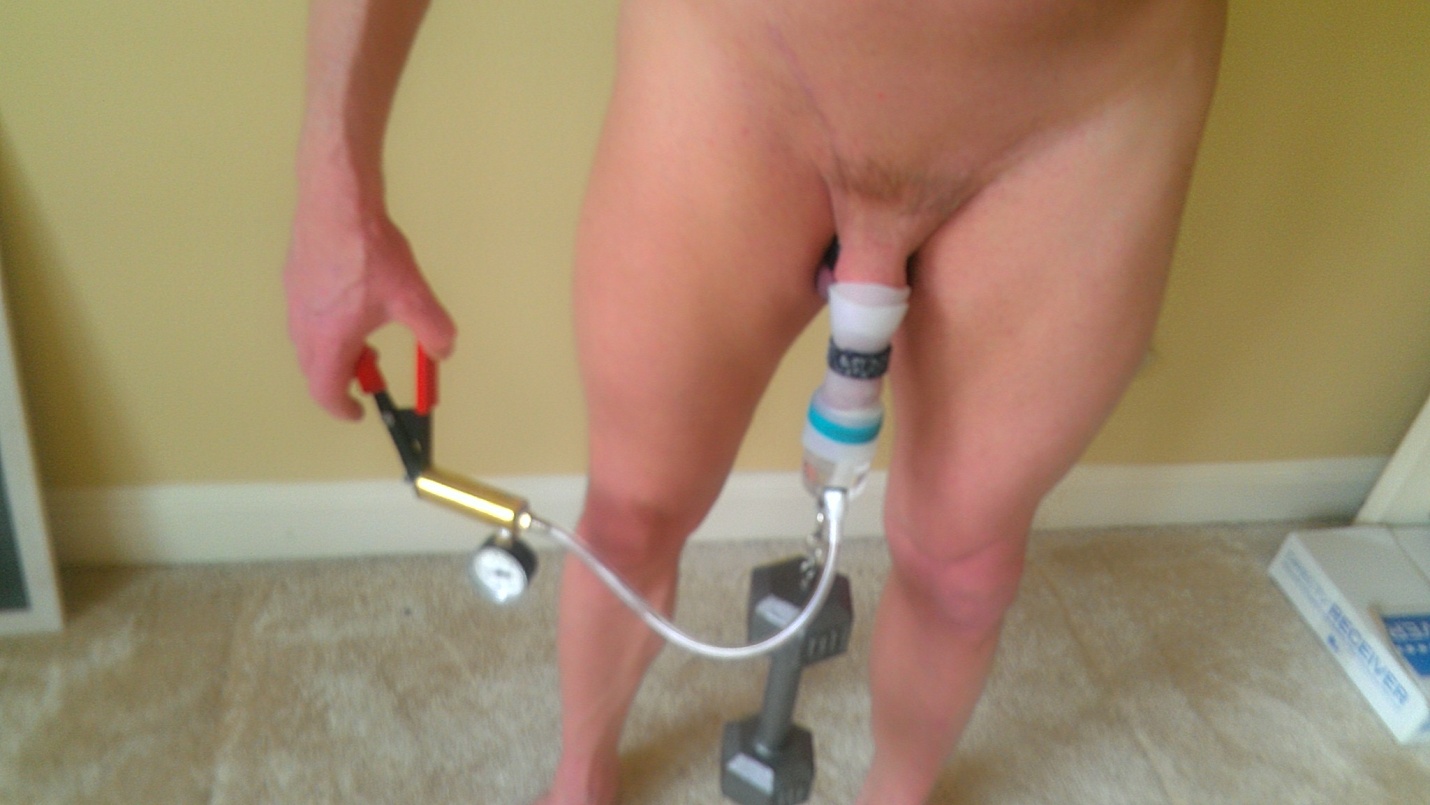
Figure 21. Weight and vacuum applied.

Figure 22. Vacuum connection

Figure 23. About 10 lbs. of vacuum pressure is sufficient to hold 10 lbs of weight for 30 minutes to an hour. This is considered advanced hanging. A protocol for the beginner, along with other details is included in the LG Hanger instruction manual.
ORDER NOW!